Service templates are now available to streamline your workflow and enhance your client onboarding process. Here's what they can do for you:
Key Benefits
- Accelerated Client Onboarding: Cut down on time-to-first shift with pre-configured service templates.
- Consistent Service Organization: Maintain standardized naming conventions and bill rates.
- Error Prevention: Reduce downstream errors when reviewing shifts and invoices.
- Standardized Invoicing: Easily apply specific invoicing methods per service type (e.g., Private Pay, Medicaid, Medicare Advantage, Long Term Care Insurance, Veterans Affairs).
How it works
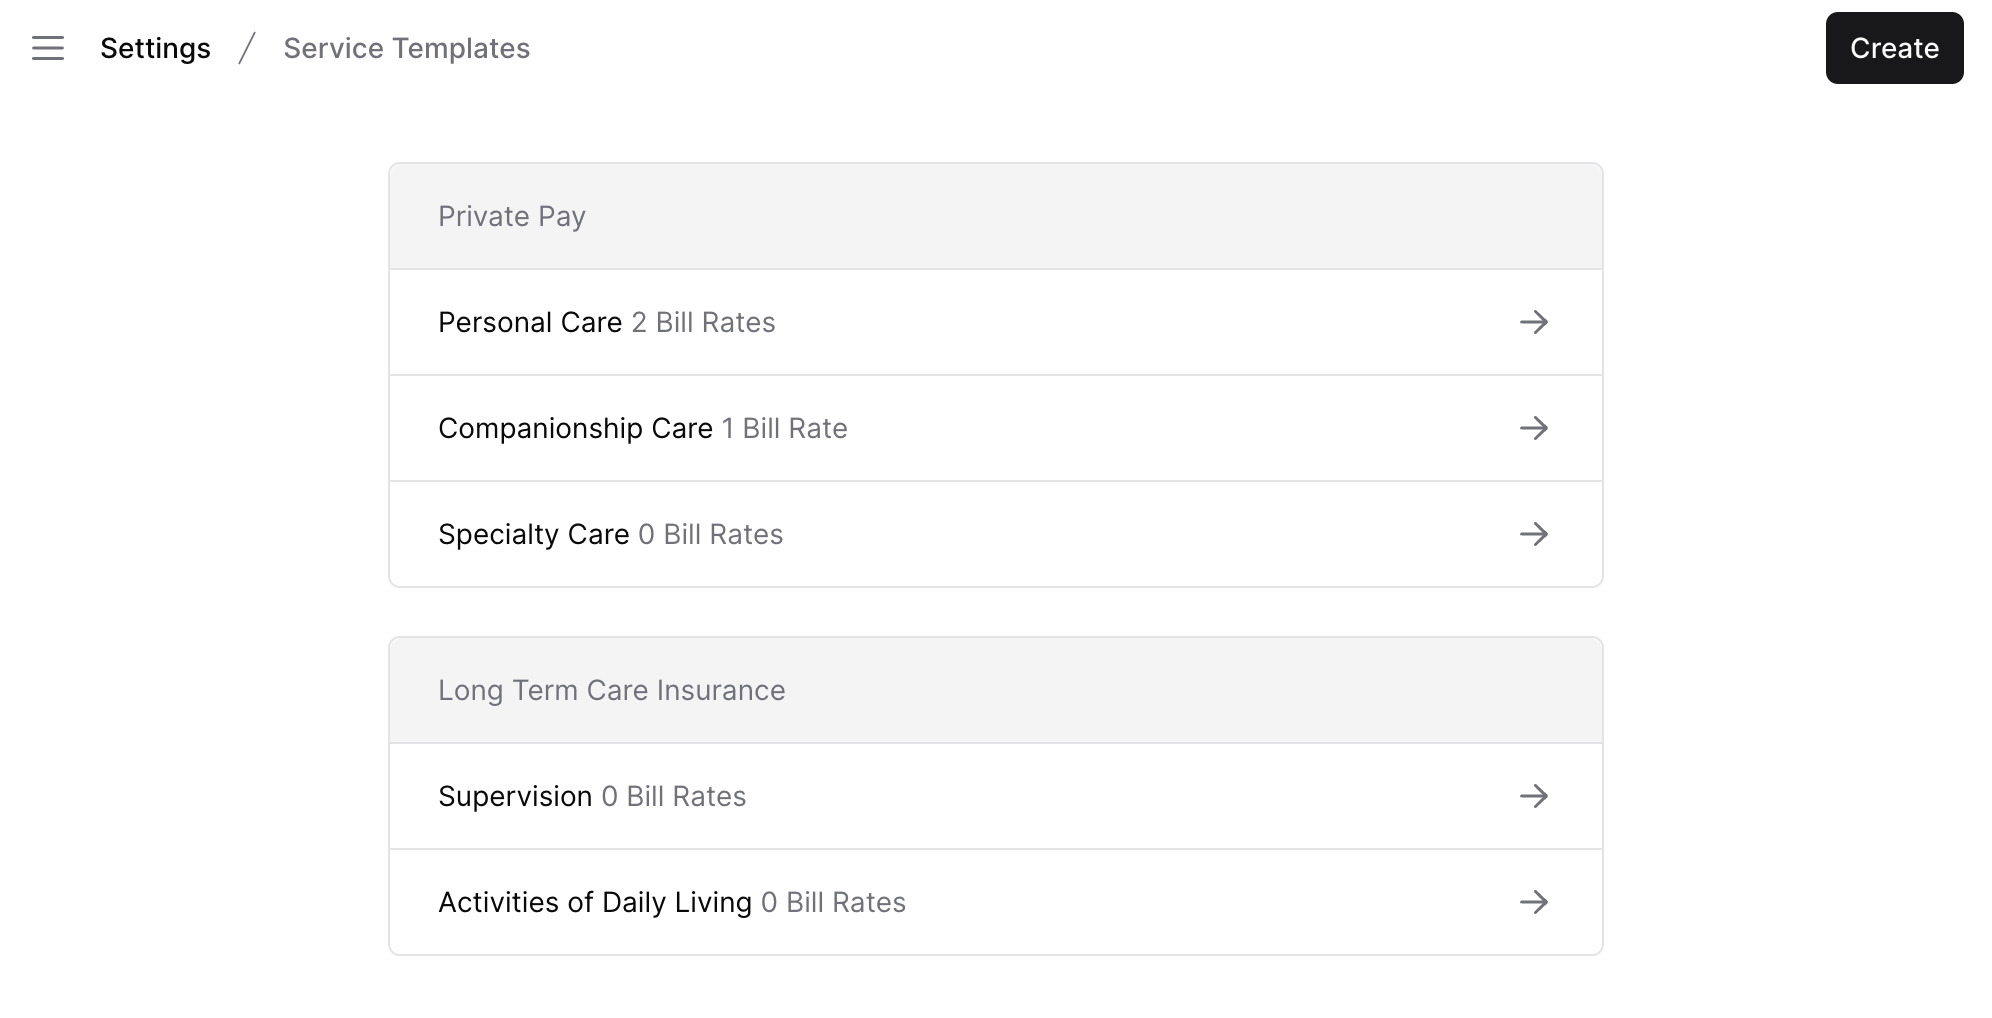
- Access Service Templates: Navigate to your workspace settings and select "Service Templates."
- Create a Template: Click "Create" and complete the service template form, specifying service type, name, and invoicing method.
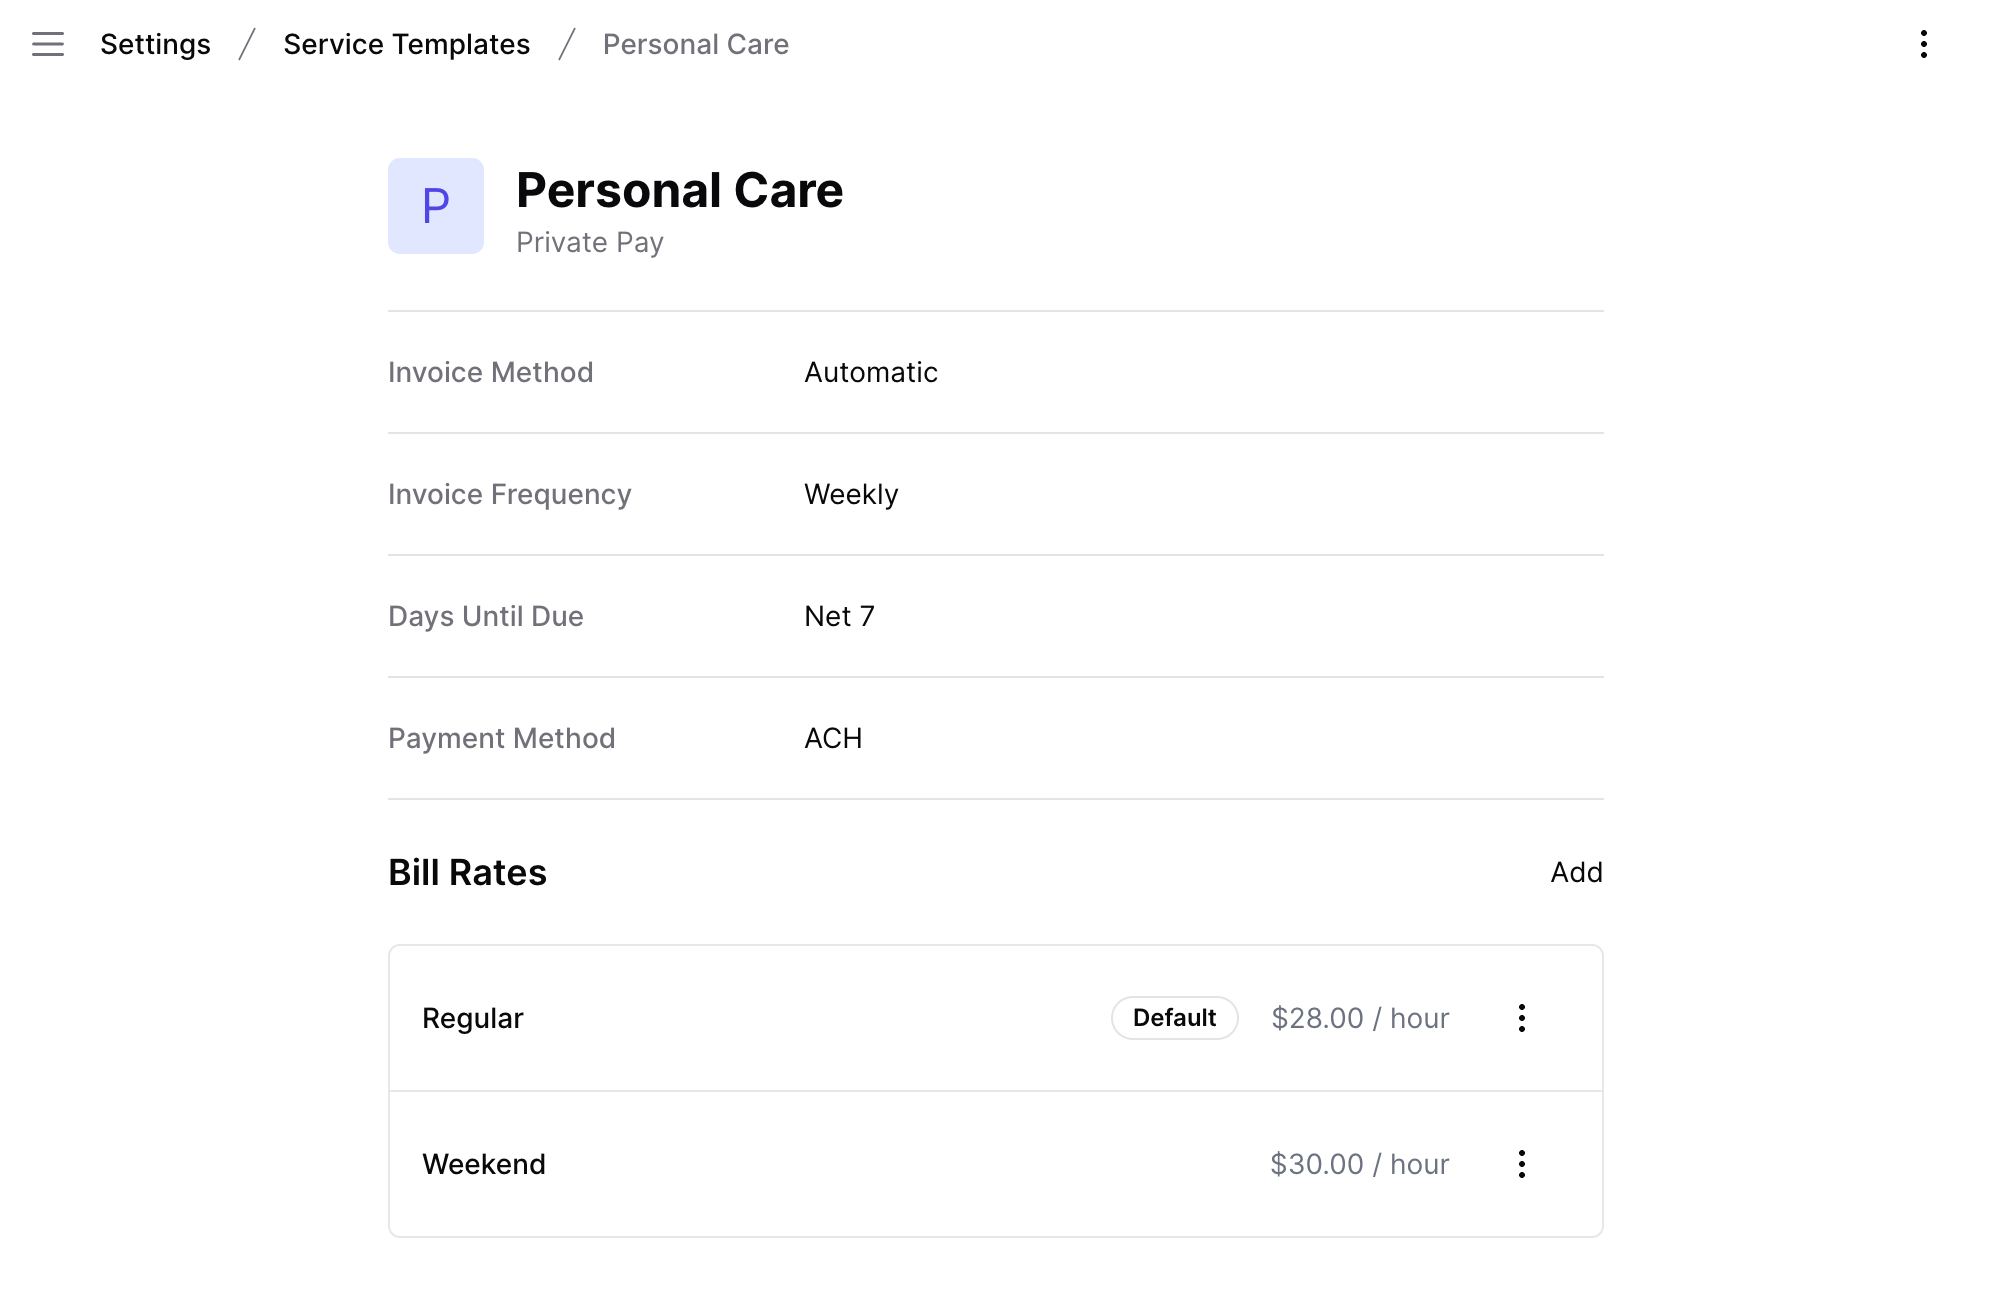
- Add Bill Rates: After saving the template, go to your new service template to add bill rates (with the option to set a default rate).
- Apply Templates: In a Care Recipient's profile, under the "Services" tab, select "Add Service" and then "Use Template."
- Choose a Template: Pick the desired service template, which will auto-fill most information in the Create Service form (except service start and end dates). Enter these dates and click "Save."
- Customize as Needed: You can modify the service before or after creation; templates are a data copy, not linked or conditional.
Considerations
- Naming Flexibility: There's no wrong way to name services, but consider how they appear to clients and caregivers on shifts and invoices.
- Service Naming Guidance: How do you name/describe your services on your website? What do 3rd party payers call the services they hire you to provide? Are services specific to a location, price, level or duration of care you provide?
Start using Service Templates today to simplify your workflow and enhance client management in Careswitch.